This is the story of my first attempt at boat-building. It's a small canoe (or is it? Some people say it's actually a Cajun-style pirogue. I'm not sure, but the two seem pretty similar in any case). It's based on the "Cheap Canoe" plans from Bateau.com.
The first thing most of my friends said when I mentioned that I was building a boat was "why?". The answer is that it's just something I've always fancied doing. I now have a garage to myself, enough spare cash for the materials (which don't cost a lot, the fibreglass kit's the most expensive), and enough spare time, so I thought "why not?".
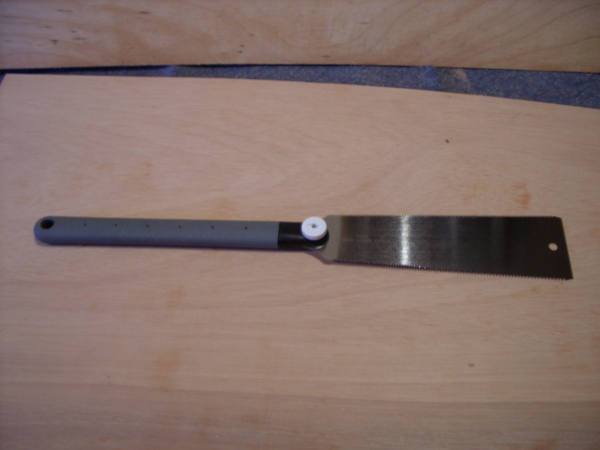
This is the first stage. I used this ryoba (AKA Japanese razor saw,
sold as a Vaughan Bear Saw):
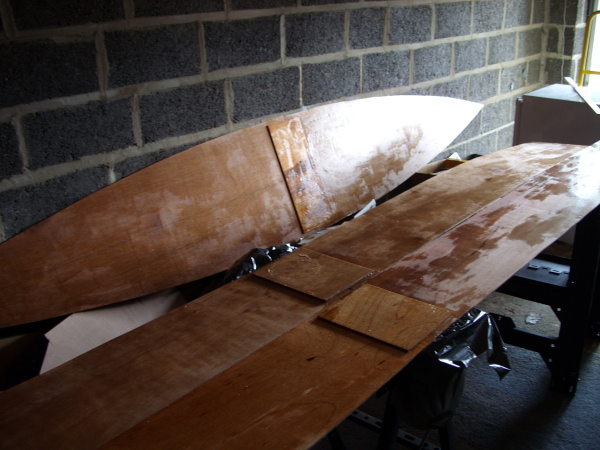
There are three main panels to this design, a bottom and two
sides. However, because the standard 8'x4' plywood sheets aren't
long enough, each panel is made of two parts. I used 6mm exterior-grade plywood.

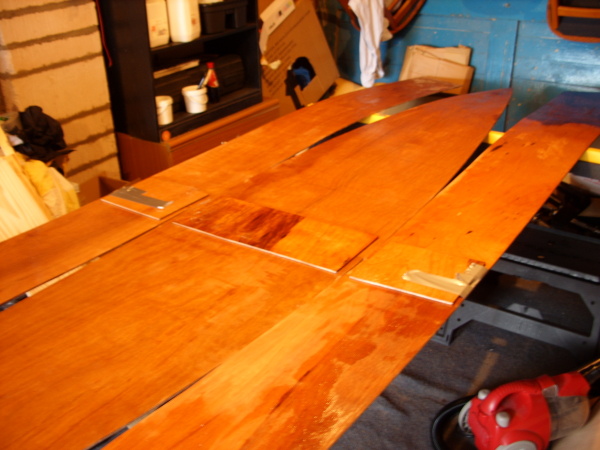
The half-panels are now joined together, using plywood butt-blocks and epoxy.
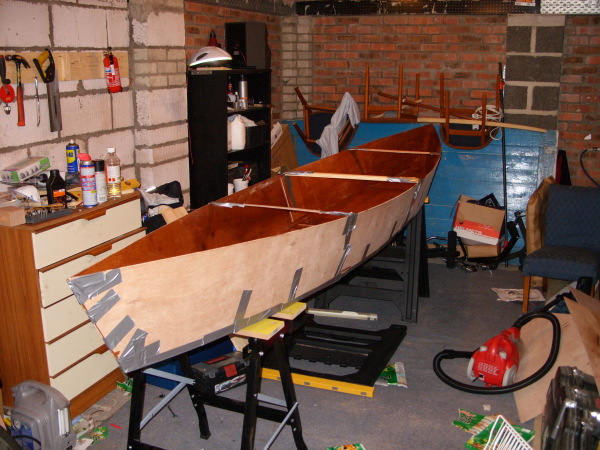
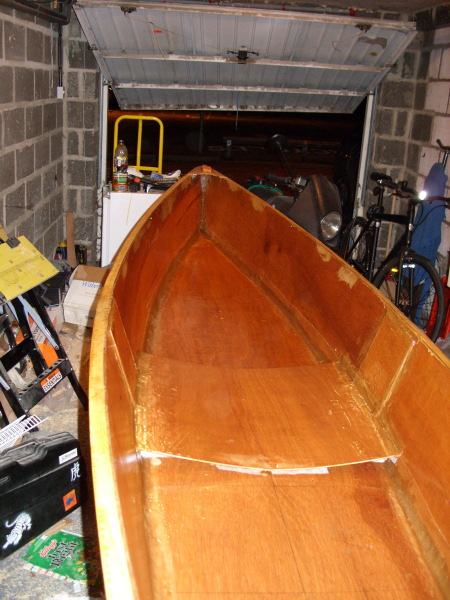
Now, the panels are laid together on supports (I used sawhorses
and a couple of cheap work benches. The benches are Homebase own-brand, basic but up to the job).
The sides are now lifted up, with temporary cross-pieces to hold the
hull in shape. The seams are held together with Duck tape.
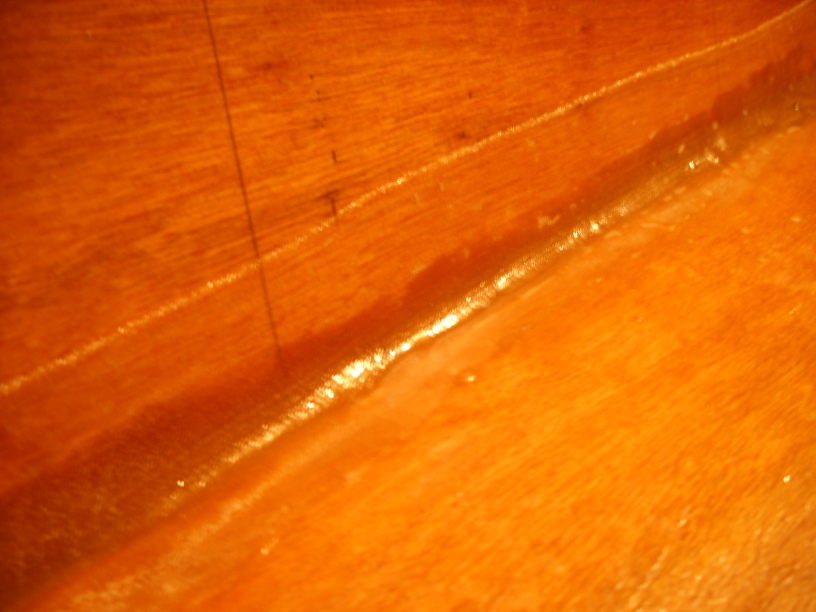
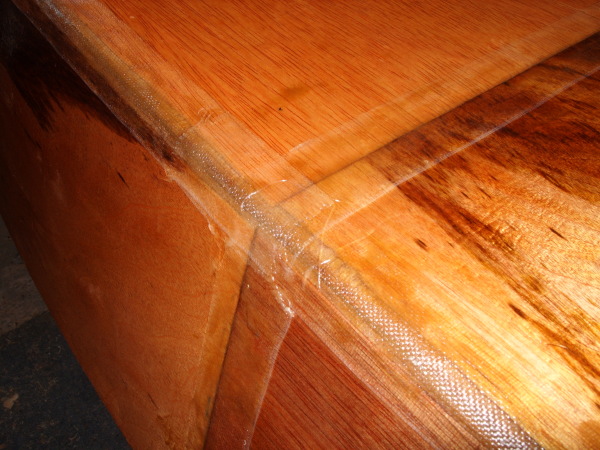
The seams are formed with epoxy "putty" (a mixture of epoxy and something to thicken it. I used the "high-density filleting blend" that came with my epoxy kit, but woodflour would also
work. I've even heard of wheat flour being used). Fibreglass tape is
then laid over the seams (always wear gloves when handling this stuff), and wetted out with more epoxy. I didn't take
pictures of this process (nice new camera + gloves covered with sticky epoxy putty = bad idea), but here's a finished seam:
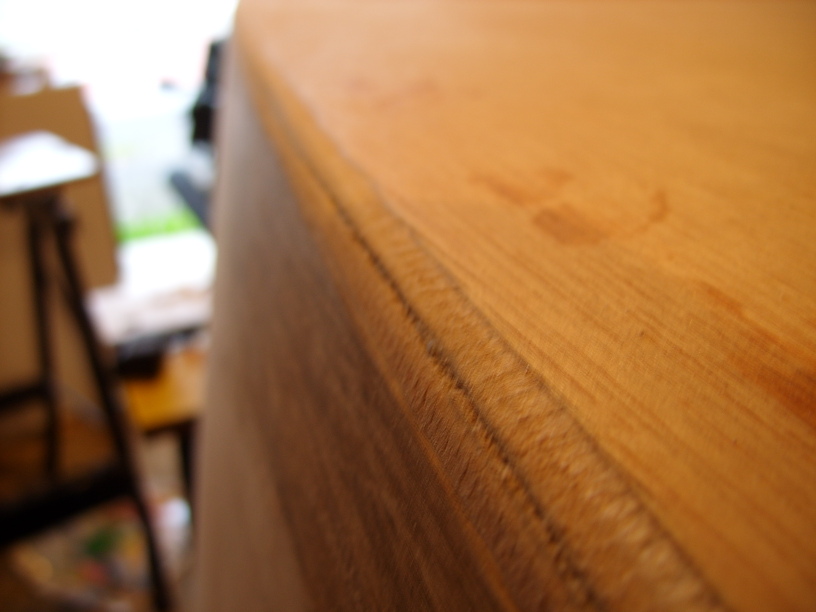
Now, it's time to flip the boat over, remove the Duck tape, and have a look at the external seams. Before fibreglass can be applied here, the edges have to be rounded. I used a Stanley
"Surform" (something between a scraper and a plane, very useful):
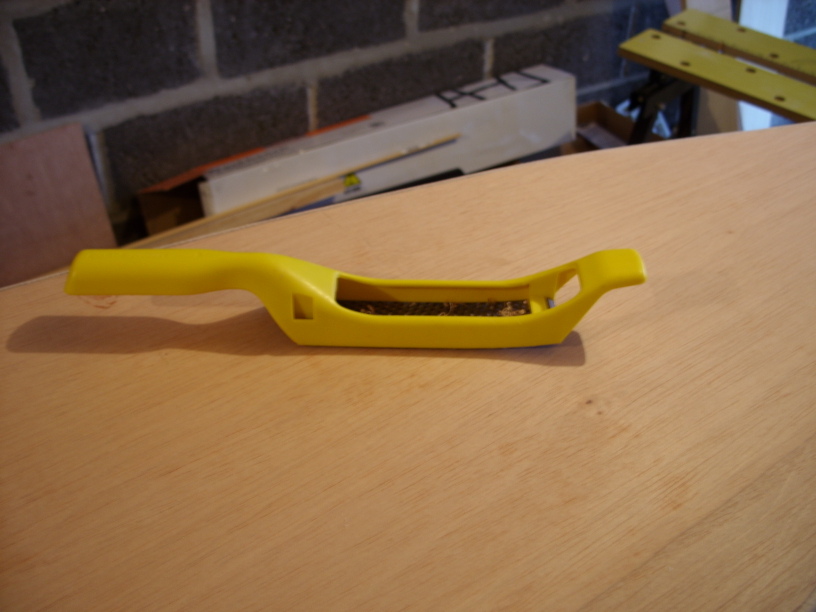
This rounds the seams off quite nicely.
Now it's time to give the outside of the boat its first coat of epoxy. I used a little putty to smooth out the seams, then applied the tape.
That's the hull done, but it's not ready yet. I still need to install rubrails and breasthooks to stiffen it, and then apply paint and/or varnish. I also need to get or make a paddle,
before I go anywhere near a creek...
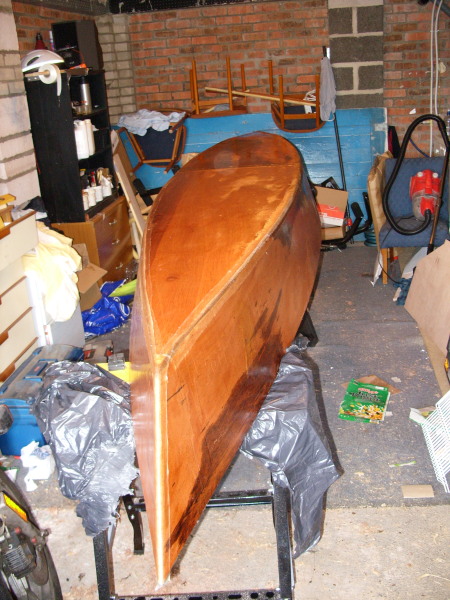
In order to make the bottom of the hull more resilient, I coated it in fibreglass. I used thin glass tissue, rather than tape (which would have provided better protection. but also weighed more). I cut the tissue to shape with scissors, pre-coated the hull bottom with epoxy, then applied and "wetted through" the tissue. Like a paper tissue, it's absorbent - I was surprised how much epoxy was needed. The finish was a bit rough in places, had to sand it down (while wearing a dust mask, not wanting to inhale glass particles).
A rubrail adds strength (and, unfortunately, weight) to the plywood shell of the boat, which is fairly flimsy on its own. I used pine stripwood, but had to join two pieces to make each
rubrail, as the 8-foot lengths my supplier had were not long enough. I used a scarf joint to do this:
First, I cut one end of each piece at a shallow angle:

I then drilled a 6mm hole through each joint from top to bottom, and glued the joint together with epoxy, pushing a dowel through the hole in each joint to keep the halves aligned (I also
clamped the joints):

Next, it's time to fit the rubrail. It's useful to have a lot of clamps at this stage. Bateau.com and other online resources recommend cutting short pieces of PVC pipe with a slit to act as
improvised clamps, but I couldn't get this to work with the cheap drainpipe I had available. Instead, I bought a few more plastic clamps, and also used self-tapping screws to keep the
rubrails flush against the hull while the epoxy set (screws to be removed and holes to be filled with an epoxy / woodflour mix later). This picture shows the rubrails clamped to the boat as
a trial fitting, no epoxy yet:
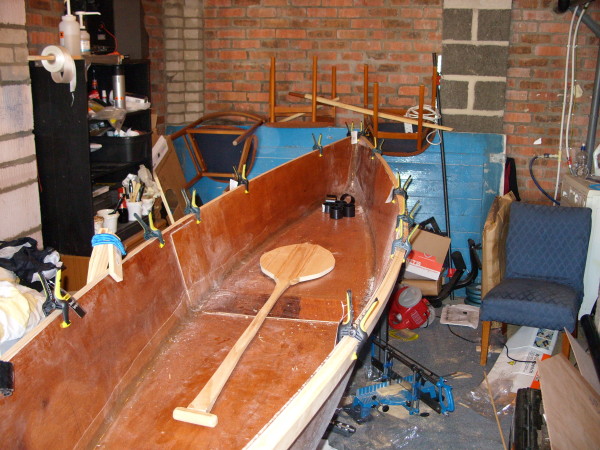
Also visible in the above picture is a paddle I've made a start on. The shaft, handle and inner parts of the blade are made of the same stripwood as the rubrails, while the outer parts of
the
blades are part of a cheap shelf I had lying around (probably also pine?). Here's a closer view:
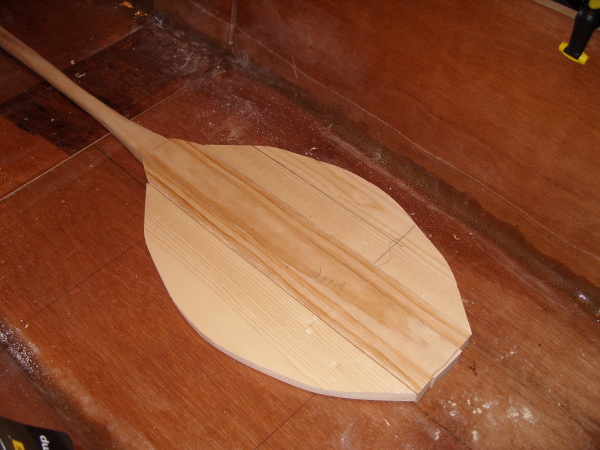
The parts are put together with dowel. At the time the photo was taken, I hadn't yet glued them together. I rounded the shaft with a spokeshave, a very satisfying tool to use
when
you get the hang of it.
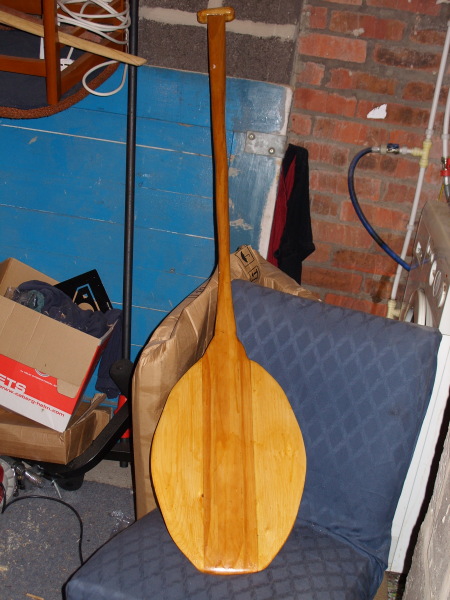
Next, I shaped the paddle blade with the surform:
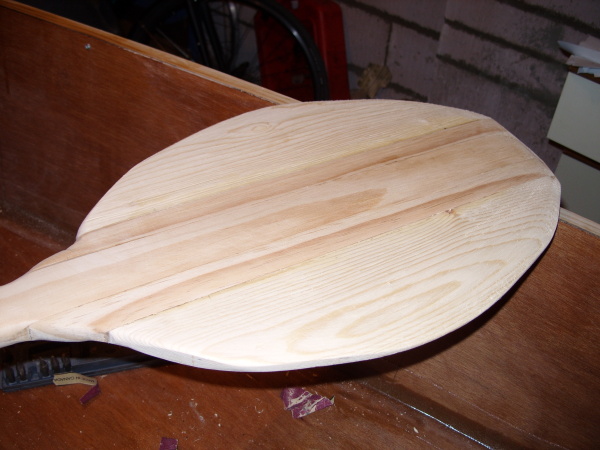
Some more surform work, then three coats of good varnish, and it's finished. Looks pretty good, considering it's partly old shelf!
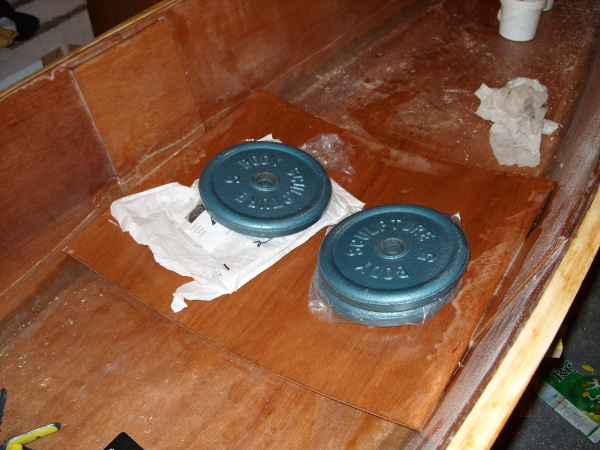
The plans describe the seat support as "optional but highly recommended". It makes the hull a bit stiffer, and provides support for a seat, as the name suggests (at this stage in the build,
I'm not sure about a seat. I'll try without first). The seat support is just a piece of plywood, which is installed across the bottom of the hull at the widest point. It's a little wider
than the bottom of the hull, so it bends. To hold the bend while the epoxy set, I used weights:
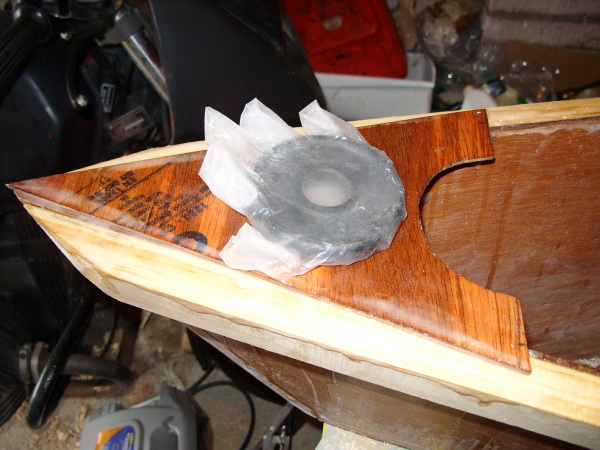
The "breasthooks" (no, I don't know why they're called that, they look nothing like breasts or hooks!) also make the hull a bit stiffer, and provide a useful handhold. There's one at each
end, and, as usual, they're made
from
plywood and glued in place with epoxy. Again, I used weights to hold them down. The rubber glove is to prevent the weight from sticking to any epoxy that's strayed onto the top of the
breasthook.
The breasthooks need to be strong, so I reinforced them with another layer of plywood underneath. I then made putty and glass tape seams under the breasthooks, and on top of the sides of
the seat support (same technique as for the inner seams).
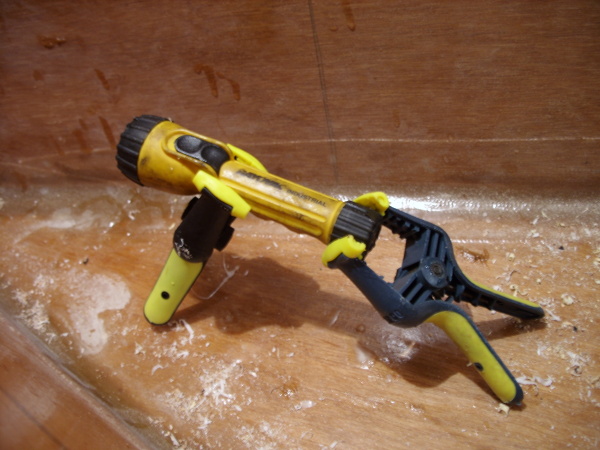
While making these seams, I needed to see under the breasthooks, which can be pretty dark, as the garage is lit from above. The solution: 2 clamps + 1 torch = Torch Beast!
Having installed the seat support and breasthooks (and added a block to each breasthook to allow a cleat to be attached), I gave the whole boat two coats of good-quality varnish. While
epoxy is waterproof, it can be degraded by ultraviolet light. A couple of layers of UV-resistant varnish help to preserve it.
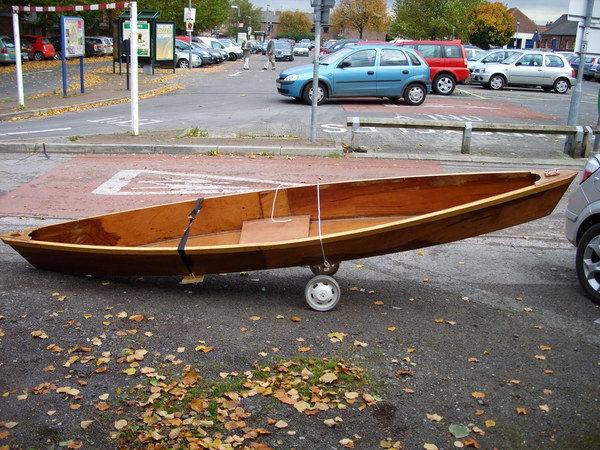
Finished! The varnish took a couple of days to dry properly. I've had her out for a quick floatation test, with good results. Feels a bit tippy at first, but has good "secondary stability" (once heeled over a little, she becomes more stable). All the usual canoeing strokes seem effective (sweeps, prys, draws, etc., as well as the J-stroke used for forward movement).
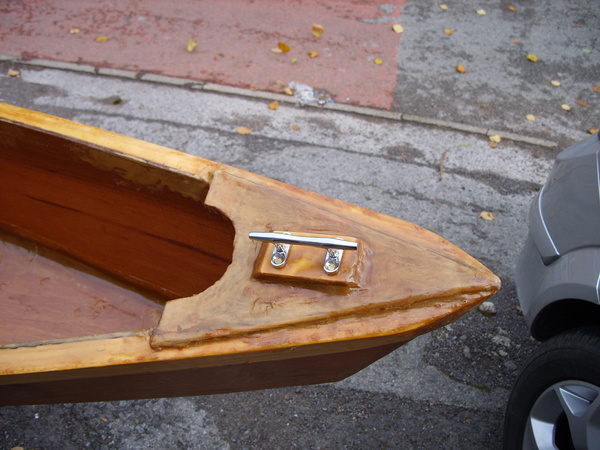
I fitted stainless steel cleats (bought online) to the blocks I'd glued to the breasthooks. These allow a painter (rope) to be attached easily.
I've also made a trolley (useful as I don't have a car, and the boat wouldn't fit easily on my motorbike). This started out as a golf trolley I found in a junk shop. A couple of planks and a few bits of rope make it into a serviceable boat trolley.